

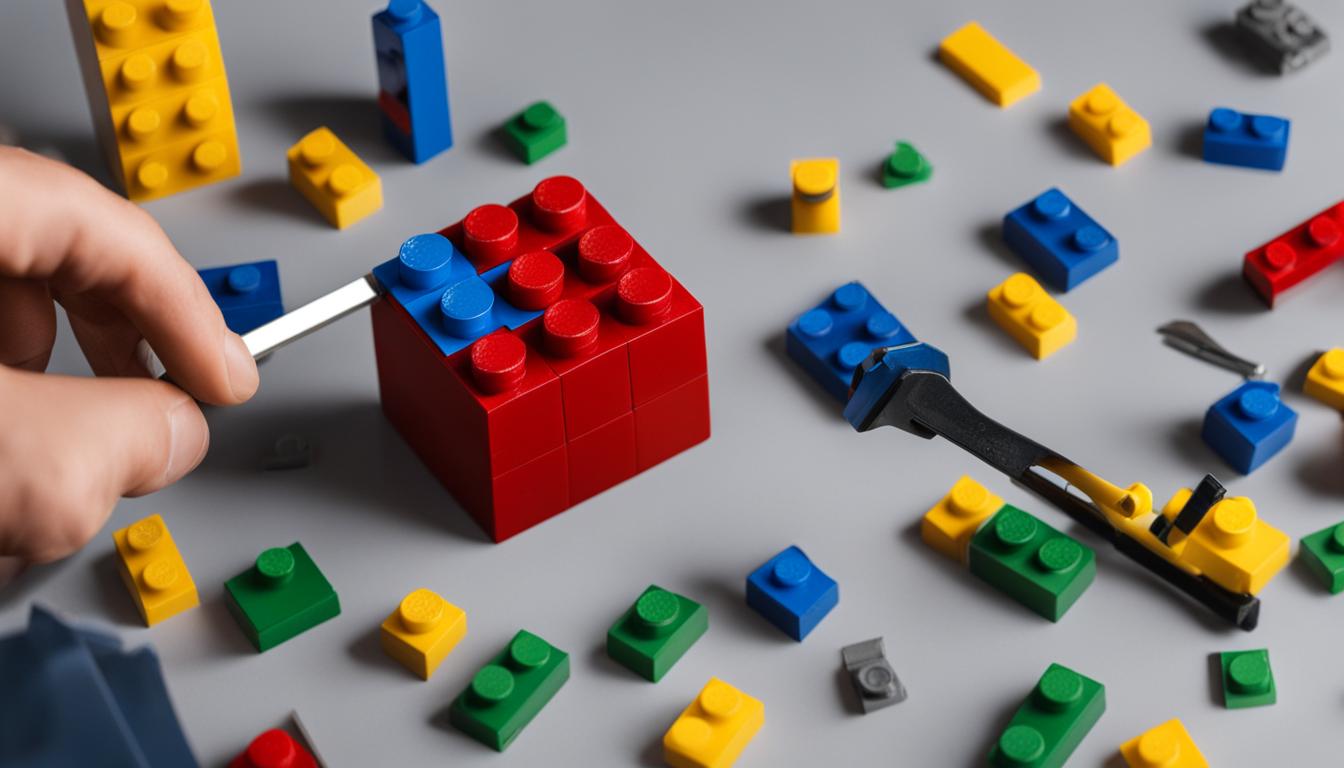
Taking apart LEGOs can be a daunting task, but with the right tools and techniques, it can be a breeze. Whether you’re a LEGO enthusiast or a parent helping your child dismantle their creations, learning the proper way to separate LEGO pieces is essential to avoid frustration and potential damage.
In this article, we will provide you with expert LEGO disassembly tips that will make the process easier and more efficient. From using the essential brick separator tool to specific techniques for removing different types of LEGO pieces, you’ll discover how to take LEGOs apart without any hassle.
Key Takeaways:
- Using a brick separator tool is essential for safe and effortless LEGO disassembly.
- Be patient and take your time when separating LEGO pieces to avoid damaging them.
- Organize your LEGO pieces by color or type before starting the disassembly process for easy identification.
- Working on a clean surface will prevent small LEGO pieces from getting lost or damaged.
- Follow specific techniques for removing different types of LEGO pieces, such as plates, tiles, and Technic beams.
The Brick Separator: A Must-Have Tool for LEGO Disassembly
When it comes to taking apart LEGO creations, having the right tools can make all the difference. The brick separator is one tool that every LEGO enthusiast should have in their arsenal. It is specifically designed to make LEGO brick removal a breeze, offering an easy and safe way to dismantle LEGO sets without causing any damage.
The brick separator is an essential tool for LEGO builders who want to disassemble their creations without hassle. Unlike scissors or other makeshift tools, the brick separator is specifically designed to prevent any accidents or injuries during the disassembly process. Its unique design allows you to safely separate LEGO bricks by following a few simple steps.
Here’s how to use the brick separator for easy LEGO brick removal:
- Insert one end of the brick separator under the brick or plate you want to remove.
- Gently apply pressure and push down on the brick separator to create leverage.
- Slowly and carefully lift the brick or plate away from the rest of the LEGO structure.
The brick separator’s small, wedge-shaped tip fits perfectly between LEGO bricks, allowing you to easily pry them apart without causing any damage. Its ergonomic design ensures a comfortable grip, making the disassembly process even easier.
Why is the brick separator a must-have tool for LEGO disassembly?
The brick separator offers a safe and efficient way to remove LEGO bricks without the risk of damaging them or injuring yourself. Its purpose-built design and ease of use make it an indispensable tool for any LEGO builder looking to dismantle their creations with ease.
With the brick separator in hand, you’ll be able to disassemble your LEGO sets with ease, allowing you to reuse the pieces for future builds. It’s a must-have tool that no LEGO enthusiast should be without.
Removing LEGO Plates and Tiles
LEGO plates and tiles are known to be quite stubborn, often sticking to other pieces and making them challenging to remove. However, fear not! With the right technique, you can easily separate these pieces without causing any damage. By using the brick separator and applying gentle pressure, you’ll be able to successfully pry off LEGO plates and tiles, allowing you to reuse them in your next LEGO creation.
The brick separator, a versatile tool designed specifically for LEGO enthusiasts, comes in handy once again when it comes to removing plates and tiles. Its unique design and functionality enable you to safely and efficiently disassemble your LEGO structures without any hassle.
To remove a LEGO plate or tile using the brick separator, follow these simple steps:
- Identify the area where the plate or tile is attached.
- Position the beveled edge of the brick separator against the side of the plate or tile.
- Apply gentle pressure to create a slight gap between the plate or tile and the adjacent LEGO pieces.
- With the help of the brick separator’s leverage, continue applying pressure until the plate or tile pops off.
This technique allows you to separate LEGO plates and tiles without causing any damage to the pieces themselves or the surrounding structures. Plus, it saves you from the frustration of trying to pry them apart with your fingers or other makeshift tools.
Remember to handle your LEGO pieces with care and patience, ensuring a smooth disassembly process. By following these LEGO plate removal and tile removal techniques, you can confidently dismantle your creations and reuse the pieces for your future LEGO building endeavors.
Unsticking LEGO Technic Beams
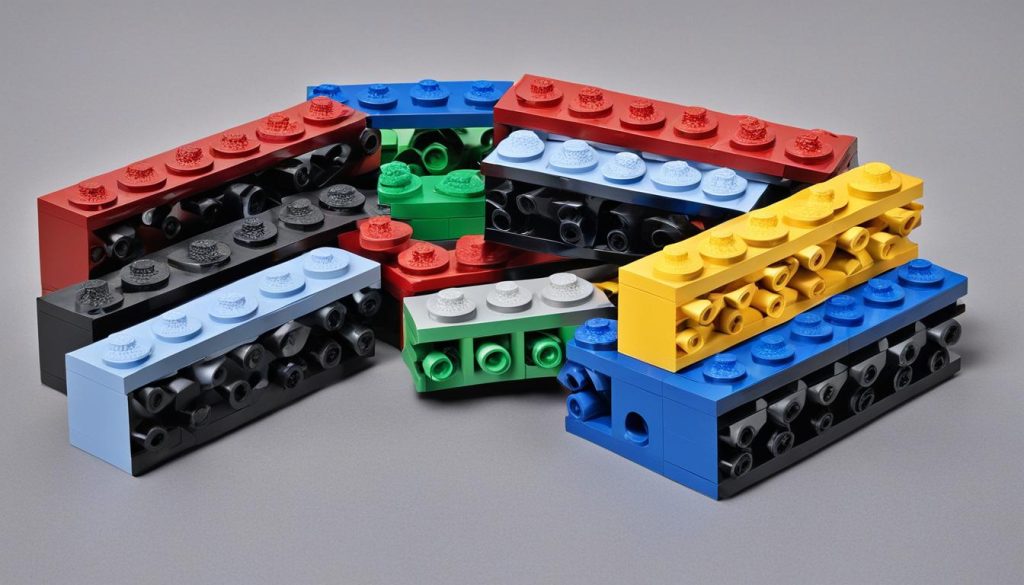
LEGO Technic beams are an integral part of creating stable structures in your LEGO builds. However, when it’s time to disassemble your creation and reuse the Technic beams, you may encounter some challenges. Luckily, the brick separator can once again come to your rescue.
The technique for removing LEGO Technic beams using the brick separator is straightforward. Follow these simple steps:
- Position the T-segment of the brick separator so that it aligns with the cross hole on the Technic beam.
- Apply gentle but firm pressure to the brick separator, pushing it into the cross hole.
- Continue applying pressure until the Technic beam pops out of the brick.
This method ensures a smooth disassembly process, allowing you to easily remove and reuse Technic beams without causing any damage to your LEGO structures.
| Step | Description |
|---|---|
| 1 | Position the brick separator’s T-segment to align with the Technic beam’s cross hole. |
| 2 | Apply gentle but firm pressure to the brick separator, pushing it into the cross hole. |
| 3 | Continue applying pressure until the Technic beam pops out of the brick. |
Using the LEGO Art Brick Separator
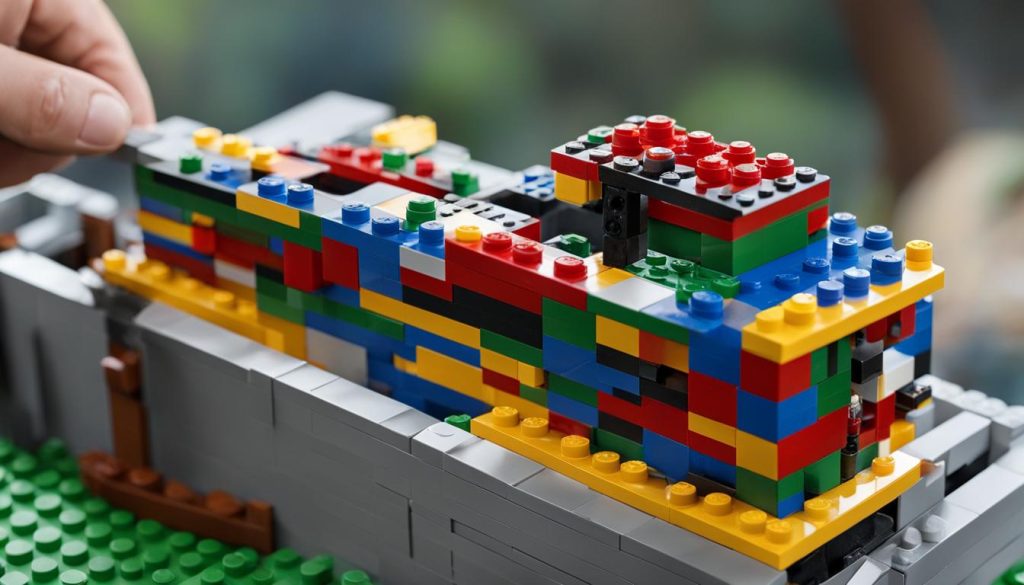
The LEGO Art brick separator is a versatile tool designed specifically for LEGO Art sets, making the disassembly process quick and effortless. With this tool, you can easily remove plates, unstick stubborn pieces, and pry up multiple tiles without causing any damage.
Using the brick separator is simple. Just press the stud side of the tool against the plate or tile you want to remove and apply gentle pressure. The leverage provided by its design allows you to easily lift and separate the pieces, ensuring a smooth disassembly process.
Benefits of the LEGO Art Brick Separator:
- Effortlessly removes plates and tiles
- Effective in unsticking stubborn pieces
- Pries up multiple tiles at once
- Designed specifically for LEGO Art sets
- Prevents damage and ensures piece reusability
Whether you’re working on a LEGO Art project or disassembling your creation for a new design, the LEGO Art brick separator is an essential tool that streamlines the process. Its efficiency and ease of use make it a valuable addition to any LEGO enthusiast’s toolkit.
With the LEGO Art brick separator, you can save time and effort while safely disassembling your LEGO Art sets. Enjoy the flexibility to create and recreate stunning LEGO artworks with ease.
Safely Removing Side Tiles with the Brick Separator
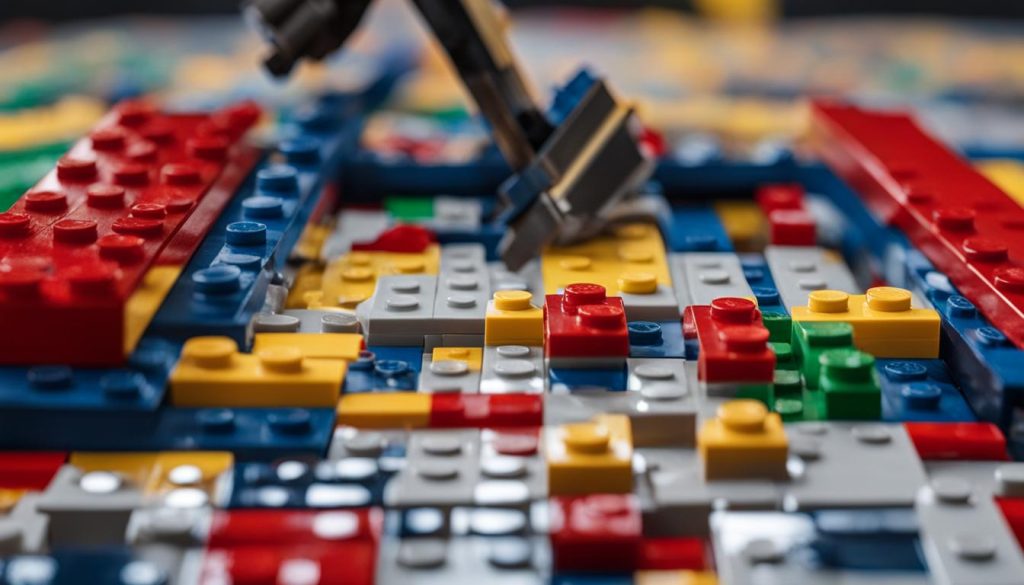
When it comes to removing side tiles from your LEGO creations, the LEGO Art brick separator can once again come to the rescue. By positioning the corner of the brick separator’s flat side next to the tile you want to remove and applying downward pressure, you can easily lift and pop off the tile. This technique ensures that your LEGO art pieces can be disassembled without any damage.
If you’re unsure how to use the brick separator for removing side tiles, follow these step-by-step instructions:
- Identify the side tile you want to remove from your LEGO creation.
- Position the corner of the brick separator’s flat side next to the tile, ensuring a snug fit.
- Apply gentle downward pressure on the brick separator, leveraging its design for easy removal.
- The tile should lift and pop off, allowing you to detach it from the LEGO structure.
By using the brick separator in this manner, you can safely and effectively remove side tiles from your LEGO creations, allowing for easy disassembly and reconfiguration. Whether you’re redesigning your LEGO art or repurposing tiles for a new project, this technique will ensure a smooth and damage-free process.
| Tile Name | Dimensions |
|---|---|
| 1×1 Side Tile | 8mm x 8mm |
| 1×2 Side Tile | 8mm x 16mm |
| 1×3 Side Tile | 8mm x 24mm |
| 1×4 Side Tile | 8mm x 32mm |
| 1×6 Side Tile | 8mm x 48mm |
With the information provided in the table above, you can easily identify the size of the side tiles in your LEGO Art sets. This can be particularly helpful when planning and designing your own LEGO creations, allowing for precise disassembly and reassembly of side tiles.
Disassembly Tips for LEGO Builders
In addition to using the brick separator, there are a few general tips you can follow to make LEGO disassembly easier. By incorporating these LEGO disassembly techniques into your building routine, you’ll be able to separate and reuse LEGO pieces with ease.
1. Organize Your LEGO Pieces
Before starting the disassembly process, it’s helpful to organize your LEGO pieces by color or type. This will help you locate the pieces you need to remove more efficiently. Whether you sort them into different containers or use dividers within a large container, having a systematic organization system in place will save you time and frustration.
2. Work on a Clean Surface
An important tip for LEGO builders is to work on a clean surface when disassembling your creations. This will prevent small LEGO pieces from getting lost or damaged during the process. Clear your workspace of any clutter or unnecessary items to create an organized environment for disassembly.
3. Take Your Time
Approach the disassembly process methodically and take your time. Avoid rushing or exerting unnecessary force as it may cause damage to your LEGO pieces. Gently wiggle and twist the bricks to loosen them without applying excessive pressure. Patience is the key to a smooth and frustration-free LEGO disassembly experience.
“Properly organizing your LEGO pieces and working on a clean surface can significantly improve your disassembly process. And remember, taking your time will ensure the safety of your LEGO bricks.”
4. Preserve Stickers and Prints
If you have LEGO pieces with stickers or prints that you want to preserve, handle them with care during the disassembly process. Use the brick separator to gently pry off the bricks without damaging the stickers or prints. Taking this extra precaution will help maintain the overall quality and appearance of your LEGO sets.
5. Store Disassembled LEGO Sets
After you’ve successfully disassembled your LEGO sets, consider storing them in separate containers or bags for easy retrieval in the future. Label the containers or bags with the set names or numbers to simplify the rebuilding process when needed. This organization will save you time and frustration when you decide to rebuild or use the pieces for other projects.
By following these LEGO building disassembly tips, you’ll be able to disassemble your LEGO sets efficiently and without damaging the bricks. Incorporating these techniques into your building routine will make future disassemblies smoother and more enjoyable.

Conclusion
Taking apart LEGO sets can sometimes be a challenging task, but with the right tools and techniques, it can become a more manageable and enjoyable process. One such tool that is essential for LEGO disassembly is the brick separator. Specifically designed to make separating LEGO pieces safe and effortless, the brick separator is a must-have for any LEGO builder.
Whether you’re removing plates, tiles, or even Technic beams, the brick separator provides clear instructions on how to dismantle your LEGO creations without causing any damage. By incorporating these LEGO disassembly tips into your building routine, you’ll not only be able to reuse your LEGO pieces but also enhance your overall experience of building with LEGO.
So, next time you find yourself faced with the task of taking apart LEGO sets, remember to grab your brick separator. With this handy tool and the knowledge you’ve gained from this article, you’ll have the confidence to tackle the disassembly process with ease. Happy disassembling!
FAQ
How do I safely take apart LEGO sets without causing damage?
The brick separator is a handy tool specifically designed for separating LEGO bricks. By following a few simple steps with the brick separator, you can safely remove LEGO pieces without causing any damage.
What is a brick separator and how does it help with LEGO disassembly?
A brick separator is a tool designed to easily separate LEGO bricks. It provides a safe and efficient way to remove LEGO pieces without the need for other tools like scissors, which can be dangerous.
How can I remove LEGO plates and tiles without damaging them?
By using the brick separator and applying gentle pressure, you can easily separate LEGO plates and tiles without causing any damage. The brick separator helps to pry off the plates and tiles, allowing for reuse in future LEGO creations.
What is the best method for removing LEGO Technic beams?
The brick separator can also be used to remove LEGO Technic beams. By aligning the brick separator’s T-segment with the Technic beam’s cross hole, you can easily pop the beam out of the brick, ensuring a smooth disassembly process.
Is there a specific separator for LEGO Art sets?
Yes, the LEGO Art brick separator is designed specifically for use with LEGO Art sets. It is effective in unsticking plates, removing bottom plates, and prying up multiple tiles, making the disassembly process easier.
How can I remove side tiles from LEGO creations without any damage?
The LEGO Art brick separator can be used to remove side tiles. By positioning the corner of the brick separator’s flat side next to the tile you want to remove and applying downward pressure, you can easily lift and pop off the tile without causing any damage.
Are there any general tips for making LEGO disassembly easier?
Yes, there are a few general tips you can follow to make LEGO disassembly easier. Organize your LEGO pieces by color or type before starting the disassembly process to locate pieces more efficiently. Also, work on a clean surface to prevent losing or damaging small LEGO pieces, and take your time to approach the disassembly process methodically.
What is the key takeaway for LEGO disassembly?
Taking apart LEGO sets can be made easier with the use of a brick separator, a tool specifically designed for LEGO disassembly. By following the instructions provided by the brick separator, you can safely and effortlessly dismantle LEGO creations for reuse in future builds.
