


When it comes to disassembling Lego bricks, it’s important to know the right techniques and tools to use. Separating Legos can be a frustrating task, but with the right methods, you can make the process easier and more efficient. In this article, we’ll explore different Lego brick separation techniques and provide valuable tips on how to disassemble Lego creations without damaging the bricks or injuring yourself.
Key Takeaways:
- Using Lego brick separators can make the disassembly process easier and safer.
- Household items such as dental flossers and credit cards can be used as alternatives to Lego brick separators.
- To unstick Lego plates, utilize the angled design of the brick separator or use the lever motion technique.
- The Lego Art Brick Separator is ideal for removing multiple tiles quickly and efficiently.
- The brick separator can also be used to detach side tiles and separate Lego Technic beams.
Using Lego Brick Separators
Lego brick separators are essential tools for effectively separating Lego bricks and ensuring they remain undamaged. These small and durable plastic tools are specifically designed to assist in the lego disassembly process, providing various features that make separating bricks a breeze.
Effortless Removal with Stud Side
One of the key features of a Lego brick separator is the stud side. The stud side can be pressed down on top of a Lego piece, allowing for easy removal. By applying gentle pressure, the brick separator allows you to detach bricks without the risk of damaging them. This convenient and efficient method saves you time and eliminates the frustration of separating tightly connected Lego pieces.
Enhanced Leverage with the Handle
In addition to the stud side, the handle of the brick separator serves as a leverage point. This feature gives you more control and makes it easier to pry apart stubbornly attached bricks. By gripping the handle, you can apply the necessary force to separate the Lego pieces without causing any harm to the bricks or risking injury to yourself.
Multi-Purpose Flat End
Another versatile aspect of the Lego brick separator is the flat end. This flat end can be used as a lever to remove multiple tiles or unstick plates. When dealing with a cluster of tiles, simply insert the flat end between them and exert gentle pressure to remove them all at once. Additionally, if you encounter plates that are stuck together, the flat end can be used to wedge between them and leverage them apart. The brick separator’s flat end offers a practical solution for quick and efficient separation of Lego pieces.
“Lego brick separators are invaluable tools for separating Lego bricks effortlessly and without causing any damage. Their stud side, handle, and flat end features enhance the disassembly process, making it a breeze to separate Legos. Whether you’re a devoted Lego enthusiast or a parent trying to organize a pile of Lego bricks, these tools can save you time and frustration.”
Using Household Items
While Lego brick separators are designed specifically for separating Lego bricks, there are alternative methods using common household items that can be just as effective. These quick and easy techniques allow you to separate Legos without the need for specialized tools.
Dental Flosser
One common household item that can be used for Lego separation is a dental flosser. By inserting the flosser between Lego pieces and gently twisting, you can create enough space to separate the bricks. The thin and flexible design of the flosser allows for precise maneuvering, making it a handy tool for disassembling Lego creations.
Credit Card or Plastic Card
Another option for separating Lego pieces is using a credit card or a plastic card. Simply slide the card between the Lego pieces and pry them apart. It’s important to be cautious and avoid applying too much force to prevent any damage to the Lego bricks. This method is particularly useful for separating flat and smooth Lego surfaces.
By utilizing these household items, you can effectively separate Legos quickly and easily. Whether you don’t have a Lego brick separator on hand or simply prefer using alternative methods, these techniques provide simple solutions for Lego brick separation.
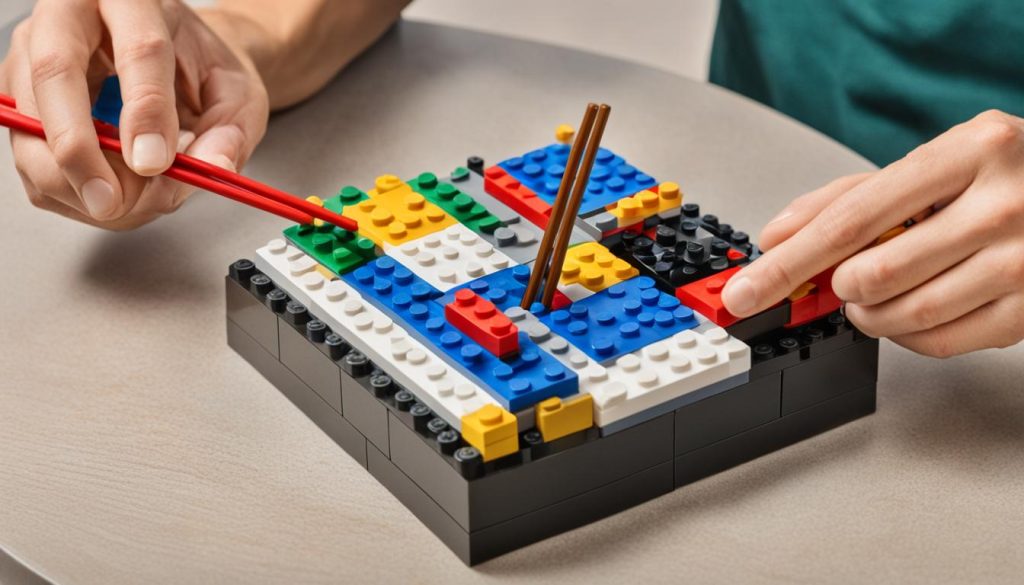
Household Items for Lego Separation
| Household Item | Technique |
|---|---|
| Dental Flosser | Insert between Lego pieces and twist to create space |
| Credit Card or Plastic Card | Slide between Lego pieces and gently pry them apart |
Separating Stuck Plates
Stuck plates can be a common challenge when it comes to separating Lego sets. However, there are efficient ways to overcome this issue and ensure a smooth separation process.
To unstick plates, one effective method is to use a Lego brick separator. This tool is designed to separate Lego bricks without causing any damage. By attaching the studs on the separator to the bottom of the plate and lifting up on the handle, you can easily separate the stuck plates. The angled design of the brick separator allows for effortless separation, minimizing the risk of damaging the Lego pieces.
Another technique for separating stuck plates involves using the flat end of the brick separator as a lever. Simply press it down next to the plates and lift up the other side. This lever motion helps create enough space between the plates, allowing them to pop apart smoothly.

| Efficient Ways to Separate Stuck Plates |
|---|
| 1. Attach Lego brick separator studs to the bottom of the plate and lift up on the handle. |
| 2. Use the flat end of the brick separator as a lever, pressing it down next to the plates and lifting up the other side. |
Removing Multiple Tiles
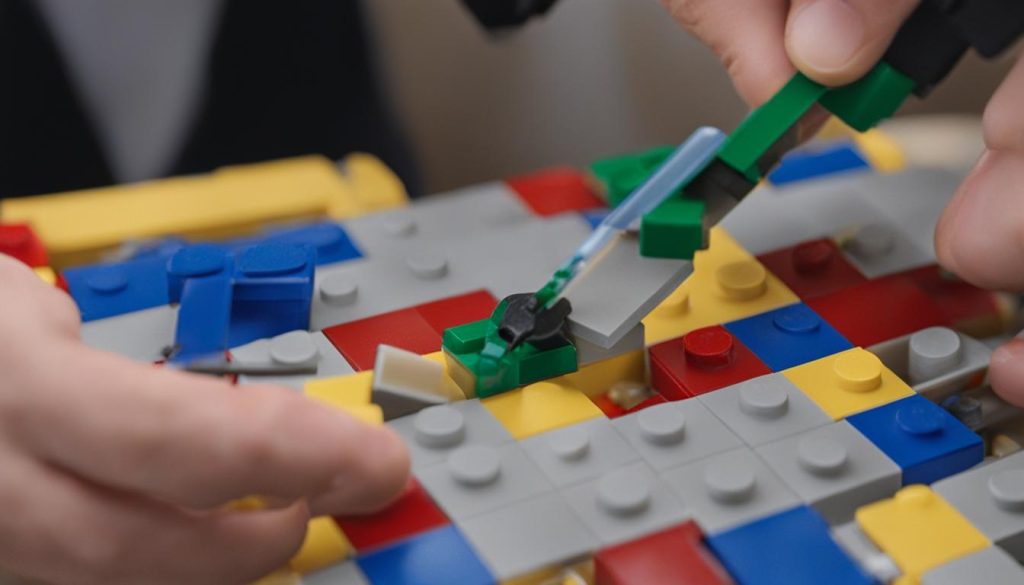
When it comes to disassembling a Lego creation made up of multiple tiles, using the Lego Art Brick Separator can save you time and effort. This specially designed tool allows you to remove several tiles at once, making the process more efficient.
To remove multiple tiles, follow these expert tips:
- Place the flat end of the brick separator next to the tiles.
- Apply gentle pressure to one side of the tiles.
- Use a lever-like action to pop the tiles off.
By utilizing these techniques, you can separate Lego pieces like a pro, quickly and effectively disassembling your creation without the need to individually remove each tile.
Unsticking Side Tiles
If you want to remove side tiles from a Lego creation, the brick separator can again come to the rescue. By placing the corner of the brick separator’s flat side next to the tile, you can press down on the other side, using the lever motion to detach the tile. This method works well for edge tiles that may be firmly attached to other Lego pieces.
Removing side tiles from a Lego creation can be a tricky task, especially when they are firmly attached to other Lego pieces. However, with the help of a brick separator, you can easily overcome this challenge. Simply position the corner of the brick separator’s flat side next to the tile you want to remove. Apply gentle pressure on the other side of the tile, leveraging the brick separator’s lever-like motion to detach it from the surrounding pieces. This technique is particularly effective for removing edge tiles that tend to be tightly connected.
Separating Technic Beams
Lego Technic beams are known for their stability and durability, but there may come a time when you want to disassemble them and reuse them in a different build. Luckily, there’s a simple method using a Lego brick separator that can make this process a breeze.
To separate Technic beams, follow these lego brick disassembly tips:
- Align the T-shaped segment of the brick separator with the cross hole of the Technic beam.
- Gently press the brick separator into the hole, applying steady pressure.
- As you press, the beam will start to loosen its grip.
- Continue pressing until the beam pops out from the other side of the brick.
This technique allows you to separate Technic beams without causing any damage to the bricks or compromising their structural integrity. Once separated, you can easily reuse the beams in your new Lego creations.
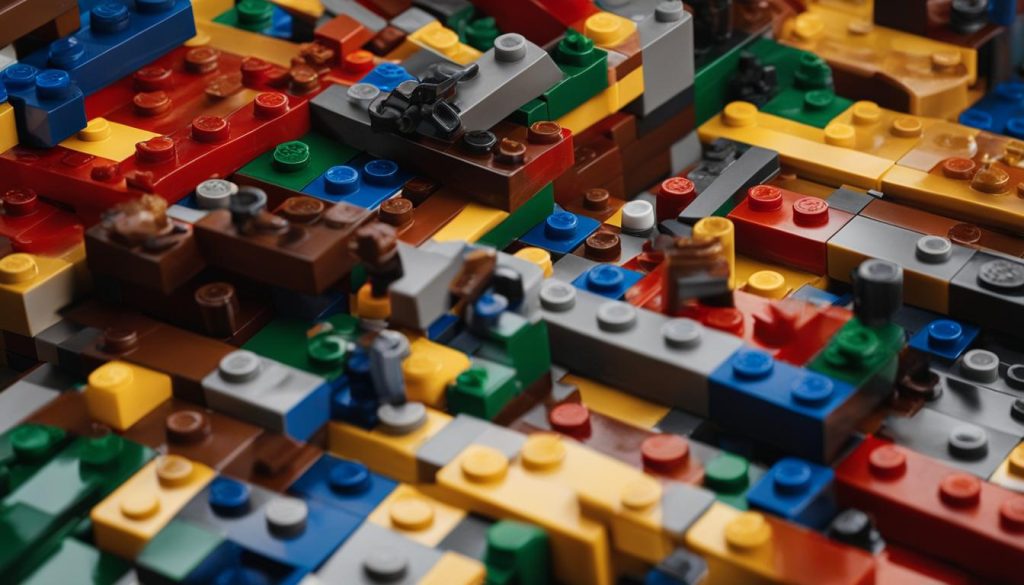
Example of Separating Technic Beams:
To better understand how to separate Technic beams using a brick separator, here’s a step-by-step example:
- Take a Technic beam that is firmly connected to other Lego pieces.
- Insert the T-shaped segment of the brick separator into the cross hole of the beam.
- Apply gentle pressure and press the brick separator firmly into the hole.
- As you press, you’ll feel the beam loosening its grip.
- Continue pressing until the beam pops out from the opposite side of the brick.
- Now, the Technic beam is separated and ready to be used in your new Lego creation!
Tips for Successful Technic Beam Separation:
Separating Technic beams can sometimes require a bit of patience and finesse. Here are some additional tips to help ensure a successful separation:
- Make sure the brick separator is aligned properly with the cross hole of the Technic beam.
- Apply steady and even pressure when pressing the brick separator into the hole.
- If the beam doesn’t pop out immediately, try wiggling it gently from side to side while maintaining pressure.
- For stubborn beams, you can also try tapping the brick separator lightly with a small hammer to loosen the grip.
By following these lego separation hacks for Technic beams, you can disassemble and reuse these versatile Lego components with ease, adding even more creative possibilities to your builds.
Conclusion
Separating Lego bricks doesn’t have to be a frustrating or time-consuming task. By utilizing the right techniques and tools, such as Lego brick separators or household items like dental flossers or credit cards, you can quickly and effectively disassemble Lego creations.
Whether you’re organizing your Lego collection or preparing for a new build, these Lego separation tips will help you separate Legos like a pro. Lego brick separation techniques, including utilizing brick separators or household items, can save you time and effort while keeping your bricks in excellent condition.
Remember to be gentle when separating Legos, avoiding excessive force or sharp objects that could damage the bricks. With these lego separation hacks, you’ll be able to disassemble your Lego sets efficiently and smoothly, making your next Lego-building adventure even more enjoyable.
FAQ
Are Lego brick separators effective for separating Lego bricks?
Yes, Lego brick separators are designed specifically to help separate Lego bricks without causing any damage. They have different features that assist in the disassembly process, such as the stud side for easy removal, the handle for providing leverage, and the flat end for removing multiple tiles or unsticking plates.
What can I use if I don’t have a Lego brick separator?
If you don’t have a Lego brick separator, you can use alternatives like dental flossers or credit cards. By inserting a dental flosser between Lego pieces and twisting gently, or by sliding a credit card between the Lego pieces and prying them apart, you can separate the bricks without causing damage.
How can I unstick Lego plates?
To unstick Lego plates, you can use a Lego brick separator. By attaching the studs on the separator to the bottom of the plate and lifting up on the handle, or by using the flat end of the brick separator as a lever, you can easily separate the plates.
How can I remove multiple Lego tiles quickly?
The Lego Art Brick Separator is especially useful for removing multiple Lego tiles. By placing the flat end of the brick separator next to the tiles and pressing down on one side, you can use the lever-like action to pop the tiles off, allowing for quick and efficient disassembly.
How can I separate side tiles from a Lego creation?
To separate side tiles, you can use the brick separator. By placing the corner of the brick separator’s flat side next to the tile and pressing down on the other side, you can use the lever motion to detach the tile, which works well for edge tiles that may be firmly attached.
Can I use a brick separator to separate Lego Technic beams?
Yes, a brick separator can be used to separate Lego Technic beams. By aligning the T-shaped segment of the brick separator with the cross hole of the Technic beam and pressing it into the hole, you can pop the beam out from the other side of the brick, making it easy to separate and reuse.
