

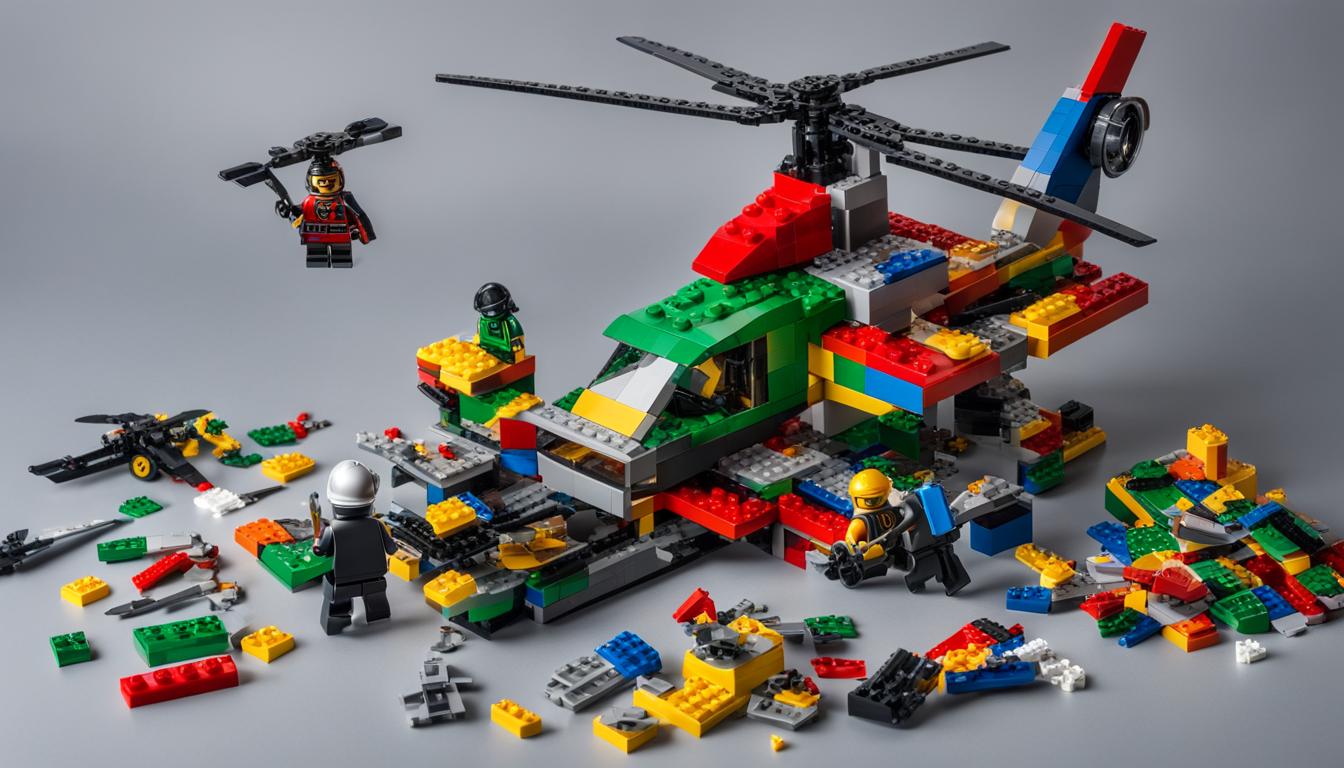
Today, we are sharing step-by-step instructions on how to build a helicopter with Legos. Whether you’re a Lego enthusiast or looking for a fun activity to engage your kids, building a Lego helicopter can be a rewarding and educational experience. By following our comprehensive guide, you’ll learn how to assemble the different components of a Lego helicopter and unleash your creativity in the process.
Before we dive into the building process, it’s crucial to mention that building with Legos promotes fine motor skills, problem-solving abilities, and spatial awareness. It’s an excellent opportunity for kids and adults alike to exercise their creativity and explore various design possibilities.
Key Takeaways:
- Building a Lego helicopter is a creative and educational activity.
- Lego building promotes fine motor skills, problem-solving, and spatial awareness.
- Follow our step-by-step guide for a seamless building experience.
- Encourage creativity and allow room for personal design ideas.
- Explore different building techniques and experiment with Lego parts.
Lego Helicopter Parts and Preparation
Before you embark on the exciting journey of building a Lego helicopter, it’s important to gather all the necessary Lego parts. Here are the key components you’ll need:
- Lego bricks
- Lego plates
- Lego tiles
- Spinning plus/cross piece for the helicopter blades
- Windshield
The combination of bricks, plates, and tiles will allow you to create the structure and details of your Lego helicopter. Some specific pieces, such as the spinning plus/cross piece and windshield, may need to be purchased separately if they are not included in your existing Lego collection.
Now that you have all your parts prepared, let’s dive into the construction process!
Building the Helicopter Main Rotor
In this section, we will focus on building the main rotor of the Lego helicopter. The main rotor is a crucial component that contributes to both the functionality and appearance of the helicopter. By following these step-by-step instructions, you will be able to assemble the main rotor with ease.
- Start by connecting the spinning cross with the base of the rotor. Ensure that it is securely attached.
- Next, add 1×6 Lego bricks onto the base to complete the main rotor assembly. Make sure to align and attach the bricks properly.
This process may seem simple, but it sets the foundation for the helicopter’s stability and maneuverability. A well-built main rotor is essential for smooth flight and adds to the overall visual appeal of your Lego helicopter.
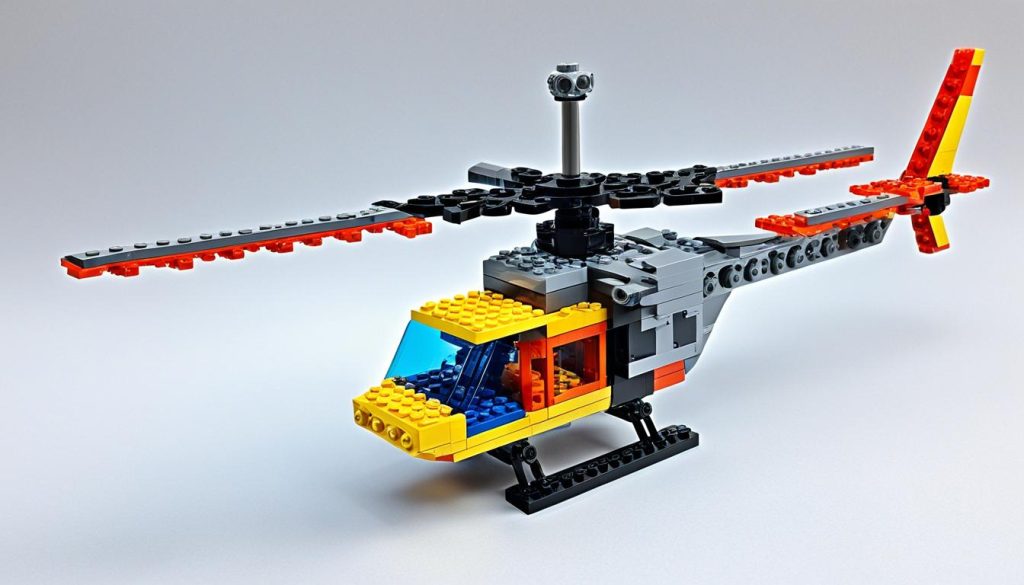
Building Hack: To enhance the rotor’s spinning motion, try lubricating the spinning cross and base connection with a tiny amount of silicone lubricant. This will minimize friction and allow for smoother rotation.
Constructing the Helicopter Tail Rotor
Now that you’ve completed the main rotor, it’s time to focus on constructing the tail rotor of your Lego helicopter. The tail rotor plays a crucial role in providing stability and balance during flight. Follow these step-by-step instructions to create a well-functioning and visually appealing tail rotor:
-
Join a 2×6 yellow plate with a corner 2×2 gray plate to create the base for the tail rotor.
-
Next, connect a triangular blue part to the base you just created. This part will add a unique design element to the tail rotor.
-
Add a 1×8 brick on top of the triangular blue part. This brick will enhance the stability of the tail rotor.
-
Finally, attach a 2×6 gray plate to the back of the tail rotor. This plate will complete the tail rotor and contribute to the overall balance of your Lego helicopter.
Here’s an example of how your tail rotor should look:
| Tail Rotor Components | Image |
|---|---|
| 2×6 yellow plate + 2×2 gray plate | |
| Triangular blue part | |
| 1×8 brick | |
| 2×6 gray plate |
By following these instructions, you’ll have successfully constructed the tail rotor of your Lego helicopter. This component not only enhances the aesthetic appeal of your creation but also ensures a smooth and balanced flight experience. Now, let’s move on to the next section where we’ll focus on building the main body of the helicopter.
Building the Helicopter Main Body
Now that you have completed the rotor assembly, it’s time to move on to building the main body of your Lego helicopter. This section will guide you through the process, step-by-step, ensuring that you have a sturdy and well-designed helicopter at the end.
To begin, gather the following Lego pieces:
- 1×6 gray bricks
- 2×4 orange bricks
- 2×2 or two white 1×2 plates
- Yellow 2×6 brick
- One wheel
Follow these instructions:
- Connect the 1×6 gray bricks with the 2×4 orange bricks to create two separate parts. These parts will form the sides of the main body.
- Use the 2×2 or two white 1×2 plates to connect the two parts together. This will join the sides and create the structure of the main body.
- Add the yellow 2×6 brick and place it at the center of the main body. This will act as the base for your helicopter.
- Finally, attach the wheel to the base of the helicopter. This will provide stability and allow your Lego helicopter to move smoothly.
Continue following the instructions to add various bricks and tiles to complete the main body. Remember, you can always modify and personalize your design along the way to make it unique and reflect your own creative ideas.
Once you have finished constructing the main body, the foundation of your Lego helicopter is complete. It’s now ready for the next steps, where we will continue building and assembling the remaining components to bring your Lego helicopter to life.
Note: The image above shows an example of a completed Lego helicopter main body for reference.
Conclusion
Congratulations on successfully building your own Lego helicopter! By following the step-by-step guide and utilizing your creativity, you have created a unique and impressive model. Building with Legos not only provides hours of fun but also fosters problem-solving skills and enhances spatial awareness.
Remember, building with Legos is all about exploration and innovation. Don’t be afraid to experiment with different design ideas and techniques. With each new build, you’ll discover new ways to improve and create even more amazing creations.
Whether you’re a beginner or an experienced Lego builder, these build instructions and tips will help you navigate the process and create an incredible helicopter. So, gather your Lego bricks, follow the steps, and embark on an exciting aerial adventure with your newly built Lego helicopter!
FAQ
What Lego parts do I need to build a helicopter?
To build a Lego helicopter, you will need a combination of Lego bricks, plates, and tiles. Some pieces may be rare and need to be purchased separately. It’s also helpful to have a spinning plus/cross piece for the helicopter blades and a windshield.
How do I build the main rotor of the Lego helicopter?
Start by connecting the spinning cross with the base and then add 1×6 Lego bricks to complete the main rotor. Follow the instructions closely to achieve the desired result.
How do I construct the tail rotor of the Lego helicopter?
Join a 2×6 yellow plate with a corner 2×2 gray plate to create the base for the tail rotor. Then, connect a triangular blue part and add a 1×8 brick and 2×6 gray plate to complete the tail rotor.
What is the process for building the main body of the Lego helicopter?
Start by connecting 1×6 gray bricks with 2×4 orange bricks to create two parts. Use a 2×2 or two white 1×2 plates to connect these parts together. Add a yellow 2×6 brick and a wheel at the center. Continue following the instructions to add various bricks and tiles to complete the main body.
What tips do you have for building a Lego helicopter?
It’s important to encourage creativity and allow room for kids to come up with their own design ideas. Follow the step-by-step instructions carefully, but don’t be afraid to explore different design options and add your own personal touches.
